How to Create a Safe Home Exercise Space

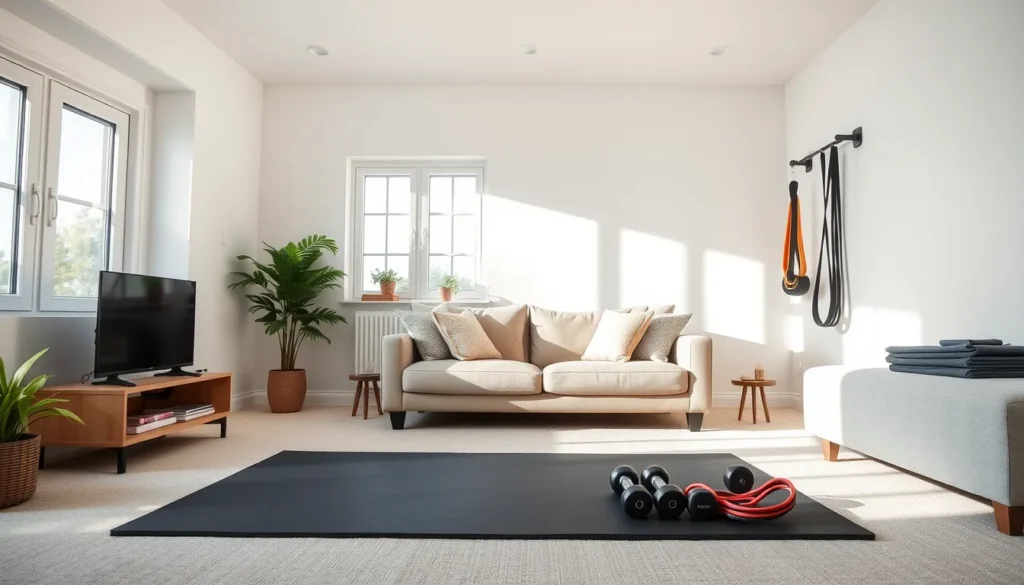
If you’re setting up a workout corner in an apartment, a shared house, or a spacious living room, this guide gives you exactly what you need to turn any area into a reliable, injury‑free zone. It’s written for beginners, busy parents, and seasoned exercisers alike—anyone who wants to avoid slips, equipment wobble, or hidden hazards before the first rep.
Following the checklist will help you secure proper clearance, lay a non‑slip surface, locate safe anchor points, and arrange an ergonomic layout. The result is a home exercise space you can trust, day after day, without second‑guessing its safety.
Assess Your Space and Define the Workout Zone
Start by measuring the total floor area available for your workout. Note the ceiling height to ensure you have enough vertical room for overhead movements or tall equipment. Walk through the room and identify high-traffic paths, such as hallways or doorways, that family members or pets might use. Your goal is to isolate a specific area that remains clear of these obstacles.
Once you have identified the general area, define the dedicated zone. For each piece of equipment you plan to use, mark out a minimum clearance of 3 to 4 feet on all sides. This buffer space is critical for maintaining balance during dynamic movements and providing room for emergency stops. Use painter’s tape or chalk lines on the floor to visualize these boundaries. This step prevents accidental collisions with walls, furniture, or other people.
Common mistakes in this phase include ignoring vertical clearance or failing to account for the footprint of larger items like treadmills or weight benches. Another frequent error is placing the zone in a high-traffic area, which increases the risk of distraction and accidents. By clearly marking these boundaries, you create an ergonomic layout that promotes natural movement without constant adjustment.
Before proceeding to flooring, ensure the defined zone has a stable, level base. If the floor is uneven, address this now. This assessment phase sets the foundation for safety. It ensures that subsequent steps, such as installing a non-slip surface or securing anchor points, are applied to a space that is already logically organized and free from immediate environmental hazards. Take your time with these measurements; accuracy here prevents many later issues.
Select and Install a Non‑Slip, Impact‑Absorbing Floor
With your zone defined, focus on the surface beneath your feet. The right flooring prevents slips and absorbs impact, protecting both you and your home. Choose materials based on your workout intensity and the existing floor condition.
Consider these three common options:
- Rubber Tiles: Ideal for heavy weights or high-impact cardio. They offer superior shock absorption and durability. Ensure they fit tightly to prevent shifting.
- Interlocking Foam Mats: Best for low-impact activities like yoga or stretching. They are lightweight and affordable but offer less support for heavy gear. Check that the interlocking tabs are secure.
- Low-Profile Carpet: Suitable for light strength training. It provides cushioning and quiet operation. Verify that the pile does not compress unevenly under load.
Before finalizing your choice, test slip resistance. Place a small weight on a sample tile and gently push it across the surface. If it slides easily, the material is too smooth for barefoot or sock use. Look for textured patterns that grip without snagging.
Next, confirm load capacity. Place your heaviest piece of equipment on the sample for a few minutes. Inspect the surface for permanent dents or cracks. If the material deforms, it cannot safely support your long-term routine. For heavy free weights, consider adding a rigid plywood sublayer between the flooring and the concrete or subfloor to distribute weight evenly. This prevents localized stress points that can cause the surface to fail over time. A stable, non-slip foundation is non-negotiable for injury prevention. Invest time in selecting the right material now to avoid replacing damaged flooring later.
Organize Equipment and Secure Anchor Points
- Group equipment by function. Place cardio machines in one zone, strength gear in another, and flexibility tools near open floor space. This creates an ergonomic layout that promotes natural movement and prevents accidental collisions during transitions.
- Install secure anchoring solutions. Use wall-mounted brackets or floor-standing racks with built-in anchors for heavy items like treadmills or weight benches. Ensure every anchor point is fastened into structural studs or concrete, not just drywall, to prevent shifting under load.
- Verify load capacity before each session. Check the manufacturer’s specifications for your flooring and anchors to confirm they support the maximum weight you will use. Inspect brackets for cracks or loose bolts before starting a workout.
Common mistakes include assuming any wall can hold heavy equipment or ignoring the clearance required around moving parts. Always measure the minimum distance around equipment to ensure you have enough room to step back safely if a machine malfunctions. If your wall framing is insufficient, use freestanding racks that distribute weight across the floor rather than relying on vertical supports.
Proper organization reduces clutter, which is a primary cause of trips and falls. Keep cables and cords tucked away or elevated to maintain a clear path. By securing gear and verifying structural integrity, you eliminate the risk of equipment tipping over during intense sets. This step transforms a cluttered corner into a controlled, safe environment where you can focus entirely on form and performance without distraction.
Optimize Lighting, Ventilation, and Visibility
Proper illumination is critical for spotting form errors and preventing missteps. Position light sources to cast even, bright illumination across the entire workout zone. Avoid overhead fixtures that create harsh shadows behind your body, as these obscuring shadows can hide alignment issues. Instead, use a combination of ambient light and targeted task lighting to ensure every angle is visible. This setup allows you to maintain an ergonomic layout where your posture remains consistent throughout each movement.
Next, address airflow to regulate body temperature. Exercise raises your core heat, and stagnant air can lead to rapid fatigue or dizziness. Ensure the room has adequate ventilation through open windows or functioning fans. This prevents overheating and helps maintain clear-headed focus. If natural air circulation is limited, consider a portable fan positioned to blow directly across your face, but keep it out of the direct line of sight to avoid distraction.
Finally, secure your visual feedback tools. If you use a mirror for form checks, ensure it is securely mounted and positioned so you can see your full profile during key movements. The surface must be stable to prevent tipping. If you do not have a mirror, place clear floor markers to define your starting positions and movement ranges. These visual cues help maintain correct spacing and technique without requiring constant self-monitoring. By combining bright, shadow-free lighting with active ventilation and clear visual references, you create an environment that supports both physical safety and technical precision. This final layer of optimization ensures that your home gym remains a reliable, hazard-free space for consistent training.
Create a Routine for Safety Checks and Ongoing Maintenance
Safety is an ongoing commitment, not a one-time setup. Establishing regular inspection habits ensures your home exercise space remains secure as equipment ages and usage patterns shift. By integrating simple checks into your daily and monthly routines, you can identify potential hazards before they result in injury.
Start with a quick daily assessment before you begin any workout. This brief review takes less than a minute but catches immediate risks. Focus on three critical areas:
- Floor Integrity: Check for loose tiles, peeling tape, or debris that could compromise your non-slip surface. Ensure the mat lies flat without curling edges that might cause a trip.
- Equipment Stability: Gently test weights and machines for wobble. If an item shifts when touched, it needs adjustment before use. Verify that all anchor points remain secure and free of strain.
- Cord Management: Trace power cables and resistance bands to ensure they are tucked away or clipped down. Loose cords across the clearance zone are a significant tripping hazard during dynamic movements.
Once a month, perform a deeper maintenance inspection. This involves hands-on checks that require more time and attention. Tighten all bolts on racks, benches, and frames, as vibration from heavy lifting can loosen connections over time. Inspect mats and padding for tears, compression, or deterioration in grip. If the top layer is worn, replace the mat to maintain impact absorption and traction. Additionally, review the load capacity of your flooring if you have recently added heavier equipment. Keep a log of these checks to track equipment lifespan and plan replacements proactively. Consistent maintenance preserves the ergonomic layout and ensures that every session in your home gym is safe and effective.
